mio-chat-backend
Health Uyari
- License — License: NOASSERTION
- No description — Repository has no description
- Active repo — Last push 0 days ago
- Community trust — 35 GitHub stars
Code Basarisiz
- execSync — Synchronous shell command execution in app.js
- network request — Outbound network request in dist/assets/js/index-BZXU6YFE.js
- exec() — Shell command execution in dist/assets/js/vendor_emoji-C7BQ2utN.js
- network request — Outbound network request in dist/assets/js/vendor_emoji-C7BQ2utN.js
- network request — Outbound network request in dist/service-worker.v4.js
Permissions Gecti
- Permissions — No dangerous permissions requested
This project is an enterprise-grade, multi-protocol AI chat platform backend built with Node.js. It supports multiple AI protocols (OpenAI, Gemini) and includes a hot-swappable plugin ecosystem with real-time communication.
Security Assessment
The overall risk is High. The automated scan detected multiple critical security failures. Specifically, the tool executes synchronous and asynchronous shell commands (`execSync`, `exec()`) within its core application files. While no dangerous permissions were explicitly requested, the codebase makes several outbound network requests across different components, including vendor scripts and a service worker. The presence of shell execution combined with external network calls in a backend server significantly increases the risk of Remote Code Execution (RCE) if user inputs are not strictly sanitized. Additionally, the repository lacks a description and holds a "NOASSERTION" license, meaning its legal usage rights remain unclear.
Quality Assessment
The project is actively maintained, with its most recent push occurring today. It features a highly detailed, professional README and has garnered a respectable 35 GitHub stars, indicating a baseline of community trust. However, the tooling lacks a clearly defined open-source license, and the missing description suggests incomplete repository hygiene.
Verdict
Use with caution — The active maintenance and feature-rich design are positives, but the prominent shell execution capabilities require a thorough manual code review before deploying in any production environment to ensure no command injection vulnerabilities exist.
Mio-Chat-Backend
📖 项目简介
Mio-Chat-Backend 是一个基于 Node.js 的高性能、模块化 AI 对话平台后端服务。采用事件驱动架构,支持多种主流 AI 协议,提供完整的插件生态系统。
核心特性
- 🚀 多协议适配器架构 - 统一抽象层同时支持 OpenAI、Gemini (AI Studio/Vertex AI)、OneBot 等多种协议
- 🔌 热插拔插件系统 - 动态加载、ES Module 规范、支持内置与第三方插件
- 🌐 MCP (Model Context Protocol) 集成 - 原生支持 Anthropic MCP 规范,扩展模型能力边界
- ⚡ 实时双向通信 - 基于 Socket.IO 的全双工通信,支持流式响应和事件推送
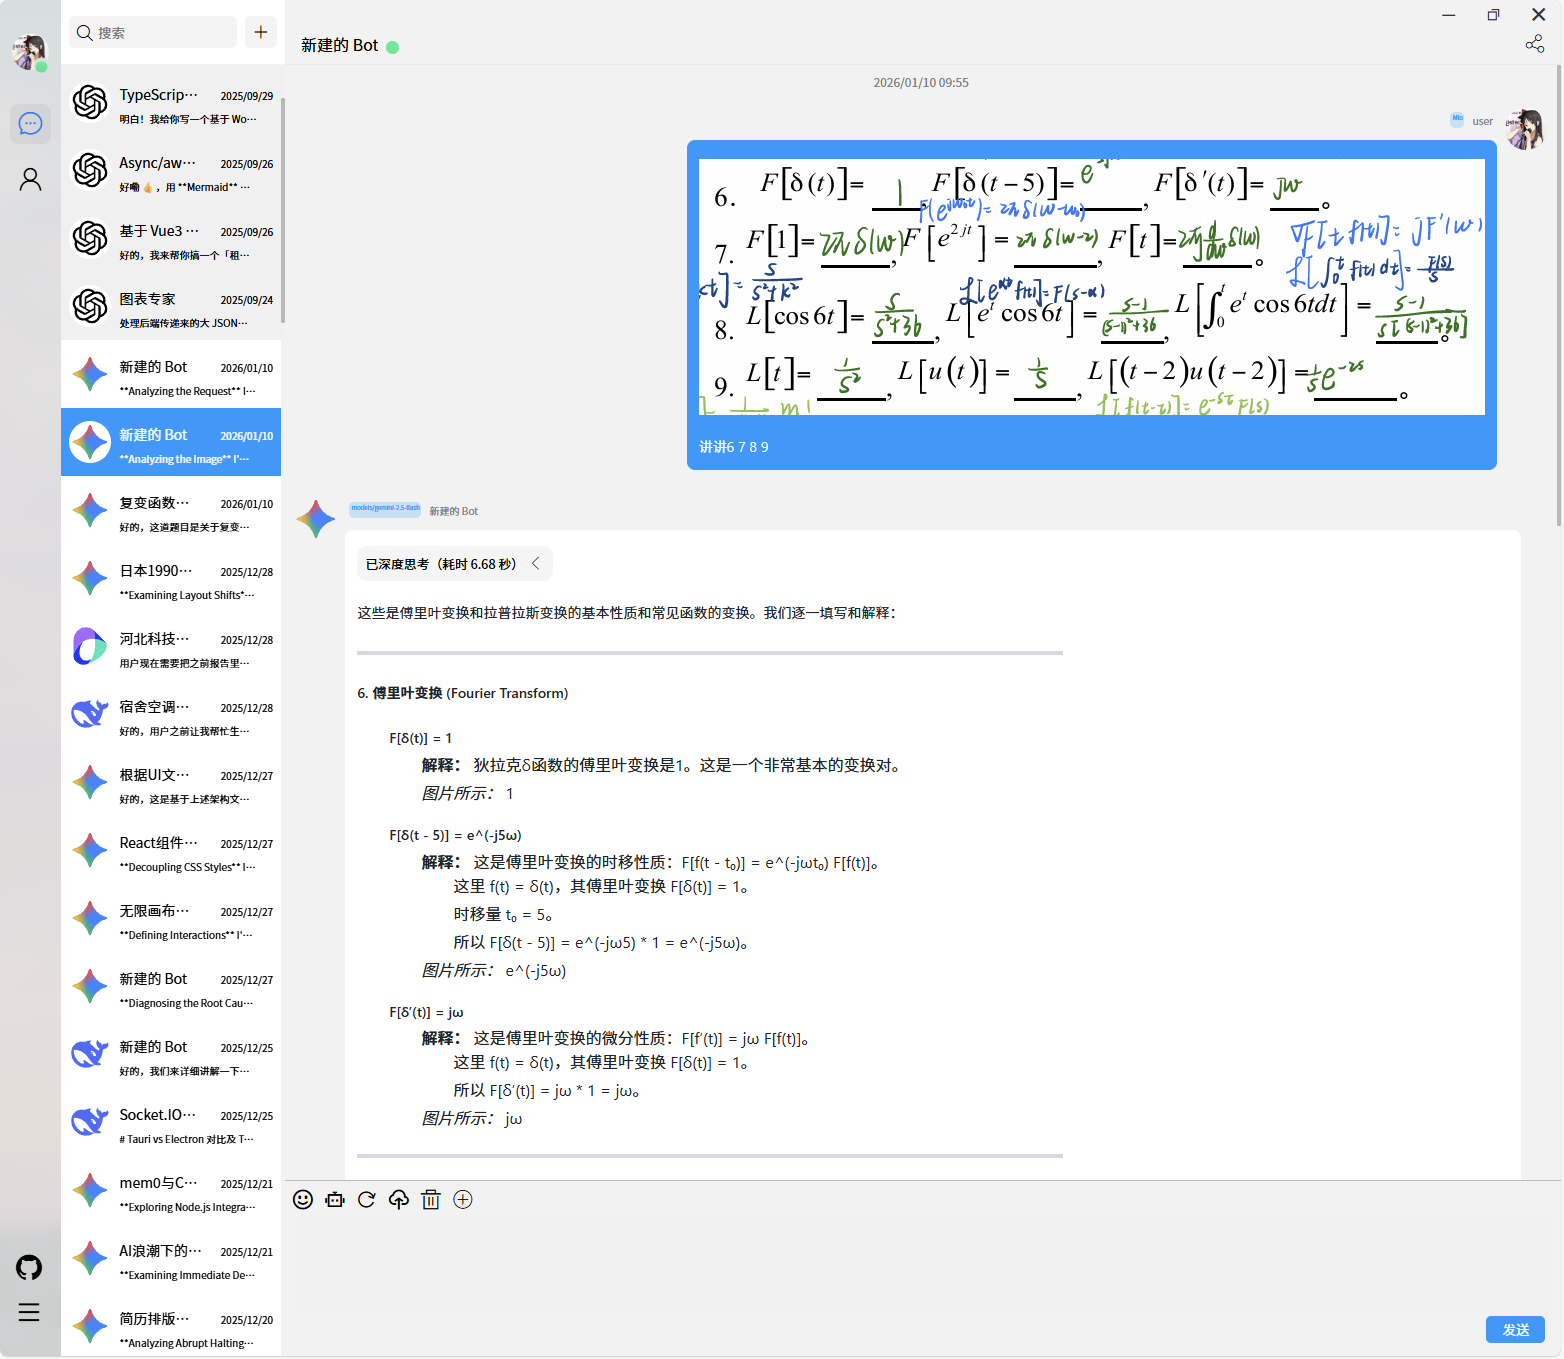
- 🎭 多模态对话支持 - 原生支持文本、图像等多模态输入输出
- 🔐 企业级权限管理 - 细粒度用户权限控制、访问码机制、操作审计
- 📦 Monorepo 工作区 - pnpm workspaces 管理,插件独立包隔离
- 🛡️ 生产就绪 - 完整的错误处理、日志系统、速率限制、PM2 集群部署支持
技术亮点
1. 插件系统架构设计
采用 双层插件加载机制:
- 内置插件 (
lib/plugins/) - 核心功能模块,如 MCP 客户端、Web 解析器 - 外部插件 (
plugins/) - 第三方扩展,支持 npm 包形式的独立开发
动态加载流程:
启动 → 扫描插件目录 → 动态 import() → 实例化 → 调用 initialize() → 注册 getTools()
插件通过标准化接口 (initialize(), getTools(), singleTools) 与核心解耦,支持运行时热更新。
2. 协议适配器设计模式
实现 策略模式 + 工厂模式:
// 统一适配器接口
class LLMAdapter {
  async chat(messages, options) { /* 实现 */ }
  async streamChat(messages, options) { /* 实现 */ }
}

// 动态加载与初始化
middleware.loadLLMAdapters() → config.getLLMEnabled() → 按需实例化
支持无缝切换不同 AI 服务商,新增协议只需实现标准接口。
3. 中间件编排机制
global.middleware 全局单例模式管理核心服务:
- Socket.IO 服务器生命周期
- LLM 适配器池
- OneBot 反向 WebSocket 客户端
- 插件注册表
通过中心化管理实现松耦合、高内聚的服务编排。
4. 静态资源优化
- 自动 Brotli/Gzip 压缩 (
express-static-gzip) - ETag 与 Last-Modified 缓存控制
- Nginx 反向代理缓存层 (详见生产部署章节)
🎬 快速预览
| 多模态对话 | 插件扩展 |
|---|---|
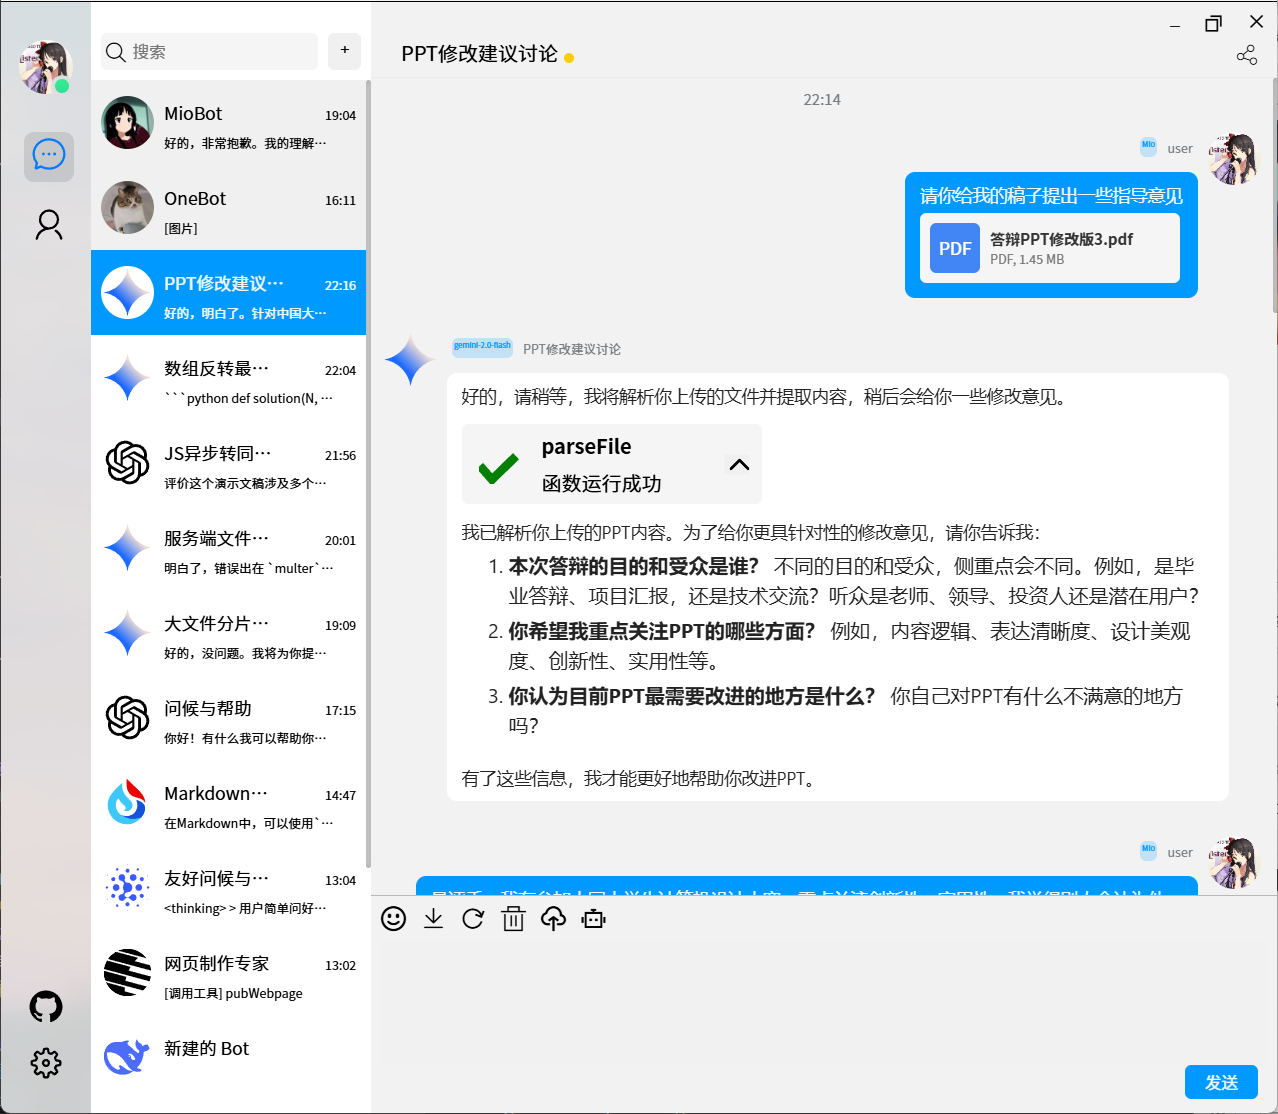 |
 |
| 角色预设 | 实时流式响应 |
|---|---|
 |
 |
🛠️ 技术栈
| 类别 | 技术选型 |
|---|---|
| 运行时 | Node.js 18+ (ES Module) |
| Web 框架 | Express.js |
| 实时通信 | Socket.IO |
| 协议支持 | OpenAI API, Google Gemini API, OneBot v11/v12 |
| 包管理 | pnpm (workspaces) |
| 进程管理 | PM2 |
| 日志 | 自定义 Logger (utils/logger.js) |
| 反向代理 | Nginx (配置示例已提供) |
� 文速档导航
🚀 用户指南
- 快速启动指南 - 新用户 5 分钟上手
- 数据迁移指南 - 老用户配置文件迁移到数据库
- Docker 部署指南 - 容器化部署完整教程
- 数据库设置 - 数据库配置详解
🔧 开发文档
🚀 快速开始
1. 克隆仓库
git clone https://github.com/Pretend-to/mio-chat-backend.git
cd mio-chat-backend
2. 安装依赖
pnpm install
3. 初始化项目
pnpm run init
该指令会自动完成:
- ✅ 生成 Prisma 数据库客户端
- ✅ 初始化 SQLite 数据库
- ✅ 在
.env中生成安全的管理员访问码
4. 启动应用
pnpm run dev
启动后访问 http://localhost:3080,使用 .env 中的 ADMIN_CODE 登录。
🐳 Docker 部署
快速运行
docker run -d -p 3080:3080 miofcip/miochat:latest
使用 Docker Compose (推荐)
# 生成 .env
cp .env.example .env

# 启动服务
pnpm run docker:up
验证运行
# 检查 API 健康状态
curl http://localhost:3080/api/health
📦 部署方式
快速启动
docker run -d -p 3080:3080 miofcip/miochat:latest
Docker Compose
# 生成 .env
cp .env.example .env

# 启动 (正式版)
pnpm run docker:up
⚙️ 配置与部署
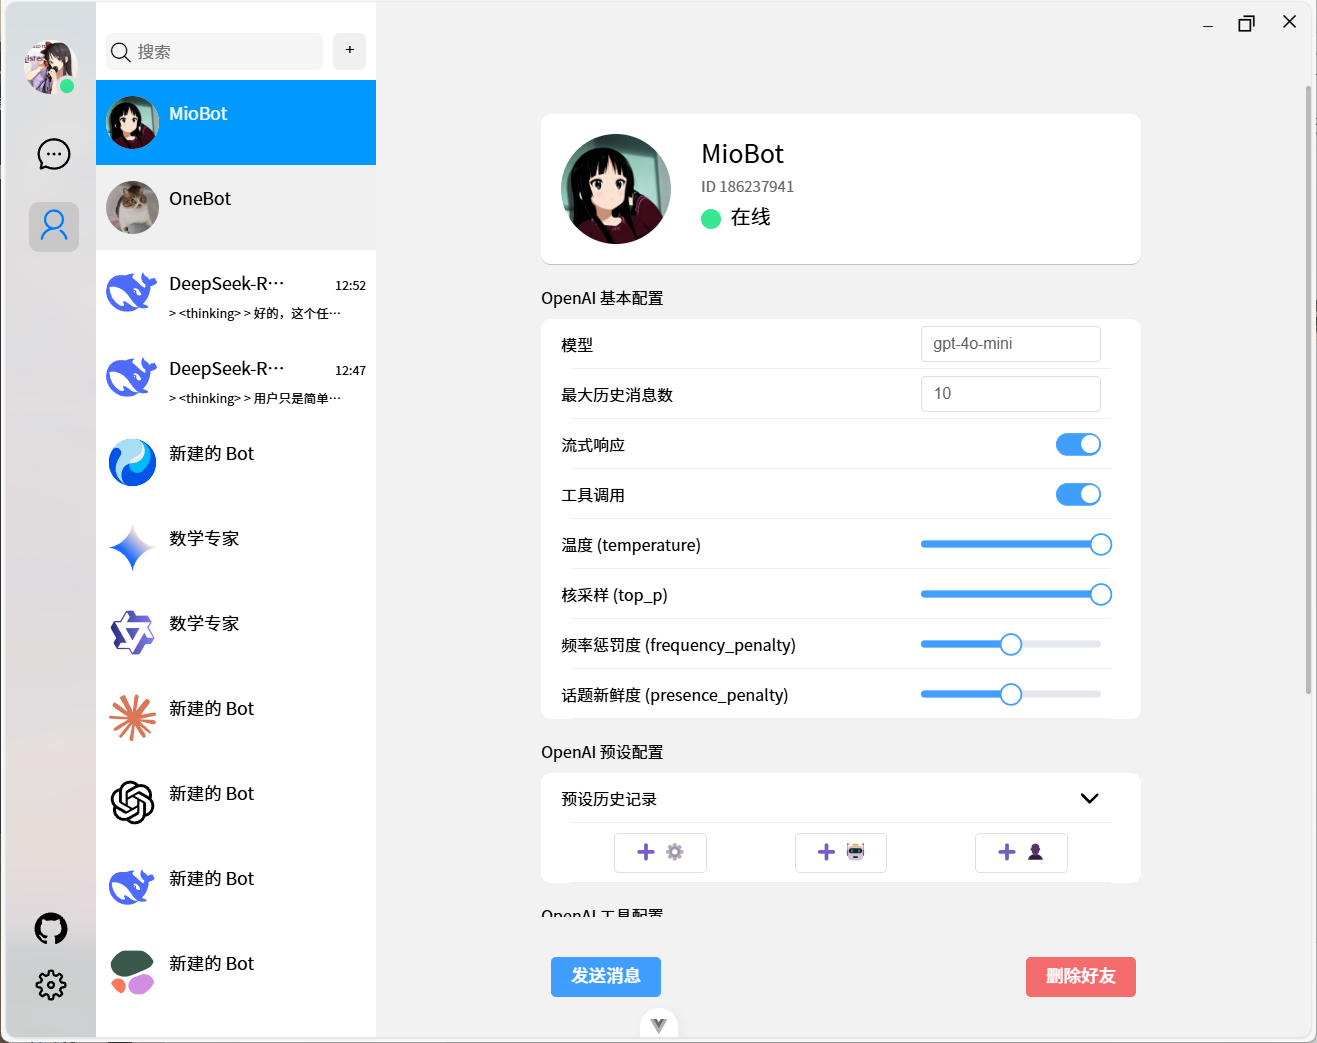
系统全自动化: 启动时会自动初始化。登录后可在 管理后台 可视化修改 OpenAI / Gemini 等模型配置。环境变量优先级最高。
⚠️ 安全提醒: 数据库文件包含敏感信息(API密钥等),已添加到 .gitignore,请勿提交到版本控制!
1. 使用 PM2
# 修改 config/pm2.json
pnpm install
pnpm run init
pnpm start
2. 使用 Docker
docker run -d -p 3080:3080 \
  -e ADMIN_CODE=your_secret_code \
  miofcip/miochat:latest
Dockerfile 特性:
- 使用 Node.js 20 LTS(支持 chrome-devtools-mcp)
- 预装 Python 3、pip、uv、docker 等 MCP 所需工具
- 非 root 用户运行
- 健康检查
- 端口:3080(与配置文件一致)
直接运行 Docker 容器:
docker run -p 3080:3080 \
  -e ADMIN_CODE="your-admin-code" \
  -e USER_CODE="user-code" \
  -v $(pwd)/config:/app/config \
  -v $(pwd)/presets:/app/presets \
  mio-chat-backend
Docker Compose 部署:
version: '3'
services:
  mio-chat-backend:
    build: .
    ports:
      - "3000:3000"
    environment:
      - ADMIN_CODE=your-admin-code-here  # 必须设置
      - USER_CODE=user-code-here        # 可选
    restart: unless-stopped
Nginx 反向代理
完整配置示例 (config/nginx/ai.krumio.com.conf):
# 在 http {} 块中添加 (全局一次)
map $http_accept_encoding $enc {
    default         "";
    "~*br"          "br";
    "~*gzip"        "gzip";
}

server {
    listen 443 ssl http2;
    server_name ai.krumio.com;

    ssl_certificate /path/to/cert.pem;
    ssl_certificate_key /path/to/key.pem;

    # 静态资源 (由后端 express-static-gzip 处理压缩)
    location /assets/ {
        proxy_pass http://127.0.0.1:3000;
        proxy_cache my_cache;
        proxy_cache_key "$scheme$request_method$host$request_uri$enc";
        proxy_cache_valid 200 7d;
        add_header X-Cache-Status $upstream_cache_status;
    }

    # Socket.IO WebSocket
    location /socket.io/ {
        proxy_pass http://127.0.0.1:3000;
        proxy_http_version 1.1;
        proxy_set_header Upgrade $http_upgrade;
        proxy_set_header Connection "upgrade";
        proxy_set_header Host $host;
        proxy_set_header X-Real-IP $remote_addr;
    }

    # API 路由
    location /api/ {
        proxy_pass http://127.0.0.1:3000;
        proxy_set_header Host $host;
        proxy_set_header X-Real-IP $remote_addr;
        proxy_set_header X-Forwarded-For $proxy_add_x_forwarded_for;
    }

    # 其他请求
    location / {
        proxy_pass http://127.0.0.1:3000;
    }
}
验证配置:
sudo nginx -t
sudo nginx -s reload

# 测试压缩响应
curl -I -H "Accept-Encoding: br,gzip" https://ai.krumio.com/assets/main.js
系统服务 (Systemd)
创建 /etc/systemd/system/mio-chat.service:
[Unit]
Description=Mio-Chat Backend Service
After=network.target

[Service]
Type=forking
User=www-data
WorkingDirectory=/var/www/mio-chat-backend
ExecStart=/usr/bin/pm2 start config/pm2.json
ExecReload=/usr/bin/pm2 reload all
ExecStop=/usr/bin/pm2 stop all
Restart=on-failure

[Install]
WantedBy=multi-user.target
启用服务:
sudo systemctl enable mio-chat
sudo systemctl start mio-chat
sudo systemctl status mio-chat
🔌 插件开发指南
插件系统架构
插件通过实现标准接口与核心系统交互,支持两种加载方式:
- 内置插件 -
lib/plugins/(随项目一起维护) - 外部插件 -
plugins/(第三方开发,pnpm workspaces 管理)
最小插件示例
最简单的插件只需继承 MioFunction 基类,在 plugins/custom/hello.js:
import { MioFunction } from '../../lib/function.js'

export default class HelloFunction extends MioFunction {
  constructor() {
    // 调用父类构造函数定义工具
    super({
      name: 'say_hello',                    // 工具名称
      description: '向用户问好',             // 工具描述
      parameters: {                         // 参数定义 (JSON Schema)
        type: 'object',
        properties: {
          name: {
            type: 'string',
            description: '用户名称'
          }
        },
        required: ['name']
      }
    })
    // 指定执行函数
    this.func = this.sayHello
  }

  /**
   * 工具执行函数
   * @param {Object} e - 执行上下文
   * @param {Object} e.params - 函数参数 (对应上面的 parameters)
   * @param {Object} e.user - 当前用户信息 (包含 isAdmin 等)
   * @returns {any} 返回值会发送给 LLM
   */
  async sayHello(e) {
    const { name } = e.params
    return `你好, ${name}! 欢迎使用 Mio-Chat!`
  }
}
这个插件会被自动发现和加载,无需额外配置。
高级插件功能
1. 访问用户权限
async mySecureFunction(e) {
  // 检查用户是否是管理员
  if (!e.user.isAdmin) {
    throw new Error('仅管理员可执行此操作')
  }

  // 执行敏感操作
  return await dangerousOperation()
}
2. 异步操作与错误处理
import { MioFunction } from '../../lib/function.js'

export default class WeatherFunction extends MioFunction {
  constructor() {
    super({
      name: 'get_weather',
      description: '获取城市天气信息',
      parameters: {
        type: 'object',
        properties: {
          city: { type: 'string', description: '城市名称' }
        },
        required: ['city']
      }
    })
    this.func = this.getWeather
  }

  async getWeather(e) {
    try {
      const response = await fetch(`https://api.weather.com?city=${e.params.city}`)
      const data = await response.json()
      return `${e.params.city} 的天气: ${data.weather}`
    } catch (error) {
      logger.error('获取天气失败:', error)
      return { error: `无法获取 ${e.params.city} 的天气信息` }
    }
  }
}
3. 使用 Node.js 原生模块
import { MioFunction } from '../../lib/function.js'
import { spawn } from 'node:child_process'
import fs from 'node:fs/promises'

export default class FileOperationFunction extends MioFunction {
  constructor() {
    super({
      name: 'read_file',
      description: '读取服务器文件内容',
      parameters: {
        type: 'object',
        properties: {
          path: { type: 'string', description: '文件路径' }
        }
      }
    })
    this.func = this.readFile
  }

  async readFile(e) {
    if (!e.user.isAdmin) {
      return { error: '权限不足' }
    }

### 项目级插件 (高级)

对于需要复杂初始化、多工具或全局服务访问的场景,可以创建项目级插件:

在 `plugins/my-plugin/index.js`:

```javascript
export default class MyPlugin {
  /**
   * 插件初始化 (可选)
   * @param {Object} middleware - 全局中间件实例
   */
  async initialize(middleware) {
    this.middleware = middleware

    // 访问 Socket.IO 服务器
    const io = middleware.socketServer
    io.emit('plugin_loaded', { name: 'MyPlugin' })

    // 访问 LLM 适配器
    this.llmAdapter = middleware.llmAdapters.openai

    // 访问其他插件
    this.webPlugin = middleware.plugins.find(p => p.constructor.name === 'WebPlugin')
  }

  /**
   * 返回工具定义
   */
  getTools() {
    return [{
      type: 'function',
      function: {
        name: 'my_tool',
        description: '我的工具',
        parameters: {
          type: 'object',
          properties: {
            input: { type: 'string' }
          }
        }
      }
    }]
  }

  /**
   * 工具执行映射
   */
  singleTools = {
    my_tool: async (args) => {
      // 可以访问 this.middleware, this.llmAdapter 等
      return `处理: ${args.input}`
    }
  }
}
插件配置管理
复杂插件可以在 config/plugins/ 下创建配置文件,参考 config/plugins/custom.json。 parameters: {
type: 'object',
properties: {
urls: {
type: 'array',
description: 'URL 列表',
items: { type: 'string' }
}
},
required: ['urls']
}
})
this.func = this.processUrls
}
async processUrls(e) {
const results = []
// 使用 Promise.allSettled 并行处理
const promises = e.params.urls.map(async (url) => {
  try {
    const data = await processUrl(url)
    results.push({ url, data })
  } catch (error) {
    results.push({ url, error: error.message })
  }
})

await Promise.allSettled(promises)
return { status: 'success', results }
}
}
### 插件配置管理

在 `config/plugins/` 下创建插件配置文件:

```json
// config/plugins/hello-plugin.json
{
  "enabled": true,
  "apiKey": "xxx",
  "customOption": "value"
}
插件中读取配置:
import fs from 'fs';
import path from 'path';

async initialize(middleware) {
  const configPath = path.join(process.cwd(), 'config/plugins/hello-plugin.json');
  this.config = JSON.parse(fs.readFileSync(configPath, 'utf-8'));
}
发布插件到市场
- 创建独立仓库
mkdir mio-chat-plugin-hello
cd mio-chat-plugin-hello
npm init
- 编写 package.json
{
  "name": "mio-chat-plugin-hello",
  "version": "1.0.0",
  "main": "index.js",
  "keywords": ["mio-chat", "plugin"],
  "peerDependencies": {
    "mio-chat-backend": ">=1.0.0"
  }
}
- 提交到插件市场
在 awesome-miochat-plugins 提交 PR 添加你的插件。
📡 API 文档
完整的 API 文档:
核心 Socket.IO 事件
客户端 → 服务器
// LLM 对话请求
socket.emit('llm', {
  messages: [
    { role: 'user', content: '你好' }
  ],
  model: 'gpt-4',
  stream: true
});

// OneBot 消息
socket.emit('onebot', {
  type: 'send_msg',
  params: {
    group_id: 123456,
    message: '你好'
  }
});
服务器 → 客户端
// 流式响应
socket.on('llm_stream', (data) => {
  console.log(data.content);  // 增量内容
});

// 对话完成
socket.on('llm_done', (data) => {
  console.log(data.fullResponse);
});

// OneBot 事件
socket.on('onebot_message', (data) => {
  console.log(data.message);
});
🏗️ 项目结构
mio-chat-backend/
├── app.js                    # 入口文件
├── lib/
│   ├── check.js              # 启动检查 & global.middleware 初始化
│   ├── middleware.js         # 核心服务编排 (LLM/Socket/OneBot/插件)
│   ├── config.js             # 配置加载与验证
│   ├── plugin.js             # 插件加载器
│   ├── chat/
│   │   ├── llm/              # LLM 适配器
│   │   │   ├── openai/
│   │   │   └── gemini/
│   │   └── onebot/           # OneBot 协议实现
│   ├── plugins/              # 内置插件
│   │   ├── mcp-plugin/       # MCP 客户端
│   │   └── web-plugin/       # Web 解析器
│   └── server/
│       ├── http/             # Express HTTP 服务器
│       │   ├── index.js      # 路由定义
│       │   ├── controllers/  # 控制器
│       │   └── middleware/   # 中间件 (速率限制等)
│       └── socket.io/        # Socket.IO 服务器
├── plugins/                  # 外部插件目录 (pnpm workspaces)
│   └── custom/               # 自定义插件
├── config/
│   ├── nginx/                # Nginx 配置
│   ├── pm2.json              # PM2 配置
│   └── nginx/                # Nginx 配置示例
├── utils/                    # 工具函数
│   ├── logger.js             # 日志系统
│   └── ...
└── presets/                  # 角色预设
    ├── built-in/
    └── custom/
关键模块说明
app.js: 执行statusCheck()后调用startServer()lib/check.js: 初始化global.middleware单例lib/middleware.js: 管理所有核心服务生命周期lib/chat/llm/: 各 LLM 协议适配器实现lib/server/socket.io/: Socket.IO 事件处理逻辑lib/plugins/: 系统内置插件plugins/: 第三方插件 (通过 pnpm workspaces 管理)
🧪 开发指南
本地开发
# 前台运行 (实时日志)
node app.js

# 监听文件变化自动重启 (需安装 nodemon)
pnpm add -D nodemon
npx nodemon app.js
代码格式化
# 格式化代码
pnpm run format

# 检查代码风格
pnpm run lint  # 使用 oxlint 进行代码检查
调试技巧
- 启用详细日志
编辑 utils/logger.js 或设置环境变量:
export LOG_LEVEL=debug
node app.js
- Socket.IO 调试
export DEBUG=socket.io*
node app.js
- 使用 Node.js Inspector
node --inspect app.js
# 在 Chrome 打开 chrome://inspect
🤝 贡献指南
我们欢迎所有形式的贡献!
提交流程
- Fork 仓库
- 创建特性分支:
git checkout -b feature/amazing-feature - 提交更改:
git commit -m 'Add amazing feature' - 推送分支:
git push origin feature/amazing-feature - 提交 Pull Request
代码规范
- 使用 ES Module 语法 (
import/export) - 遵循现有代码风格 (Prettier + oxlint)
- 为新功能添加注释
- 保持向后兼容性
报告问题
在 Issues 页面提交 Bug 报告或功能请求时,请包含:
- 详细的问题描述
- 复现步骤
- 环境信息 (Node.js 版本、操作系统等)
- 相关日志输出
🌟 致谢
本项目受以下优秀项目启发:
- ChatGPT-Next-Web by Yida
- Yunzai-Bot - 云崽社区
- chatgpt-mirai-qq-bot by lss233
📄 许可证
本项目基于 MIT License 开源。
📞 联系方式
- 在线演示: https://ai.krumio.com
- 插件市场: awesome-miochat-plugins
- 前端仓库: mio-chat-frontend
- QQ 交流群: 798543340
如果这个项目对你有帮助,请给个 ⭐ Star 支持一下!
Made with ❤️ by the Mio-Chat Team
Yorumlar (0)
Yorum birakmak icin giris yap.
Yorum birakSonuc bulunamadi